
- Jan 13, 2020
- 2,564
- 37,422
Simple step by step guide of how I created universal adjust morph for a specific figure, which loads onto the clothes, rather than the figure itself and works well with D-force.
Here's a link:
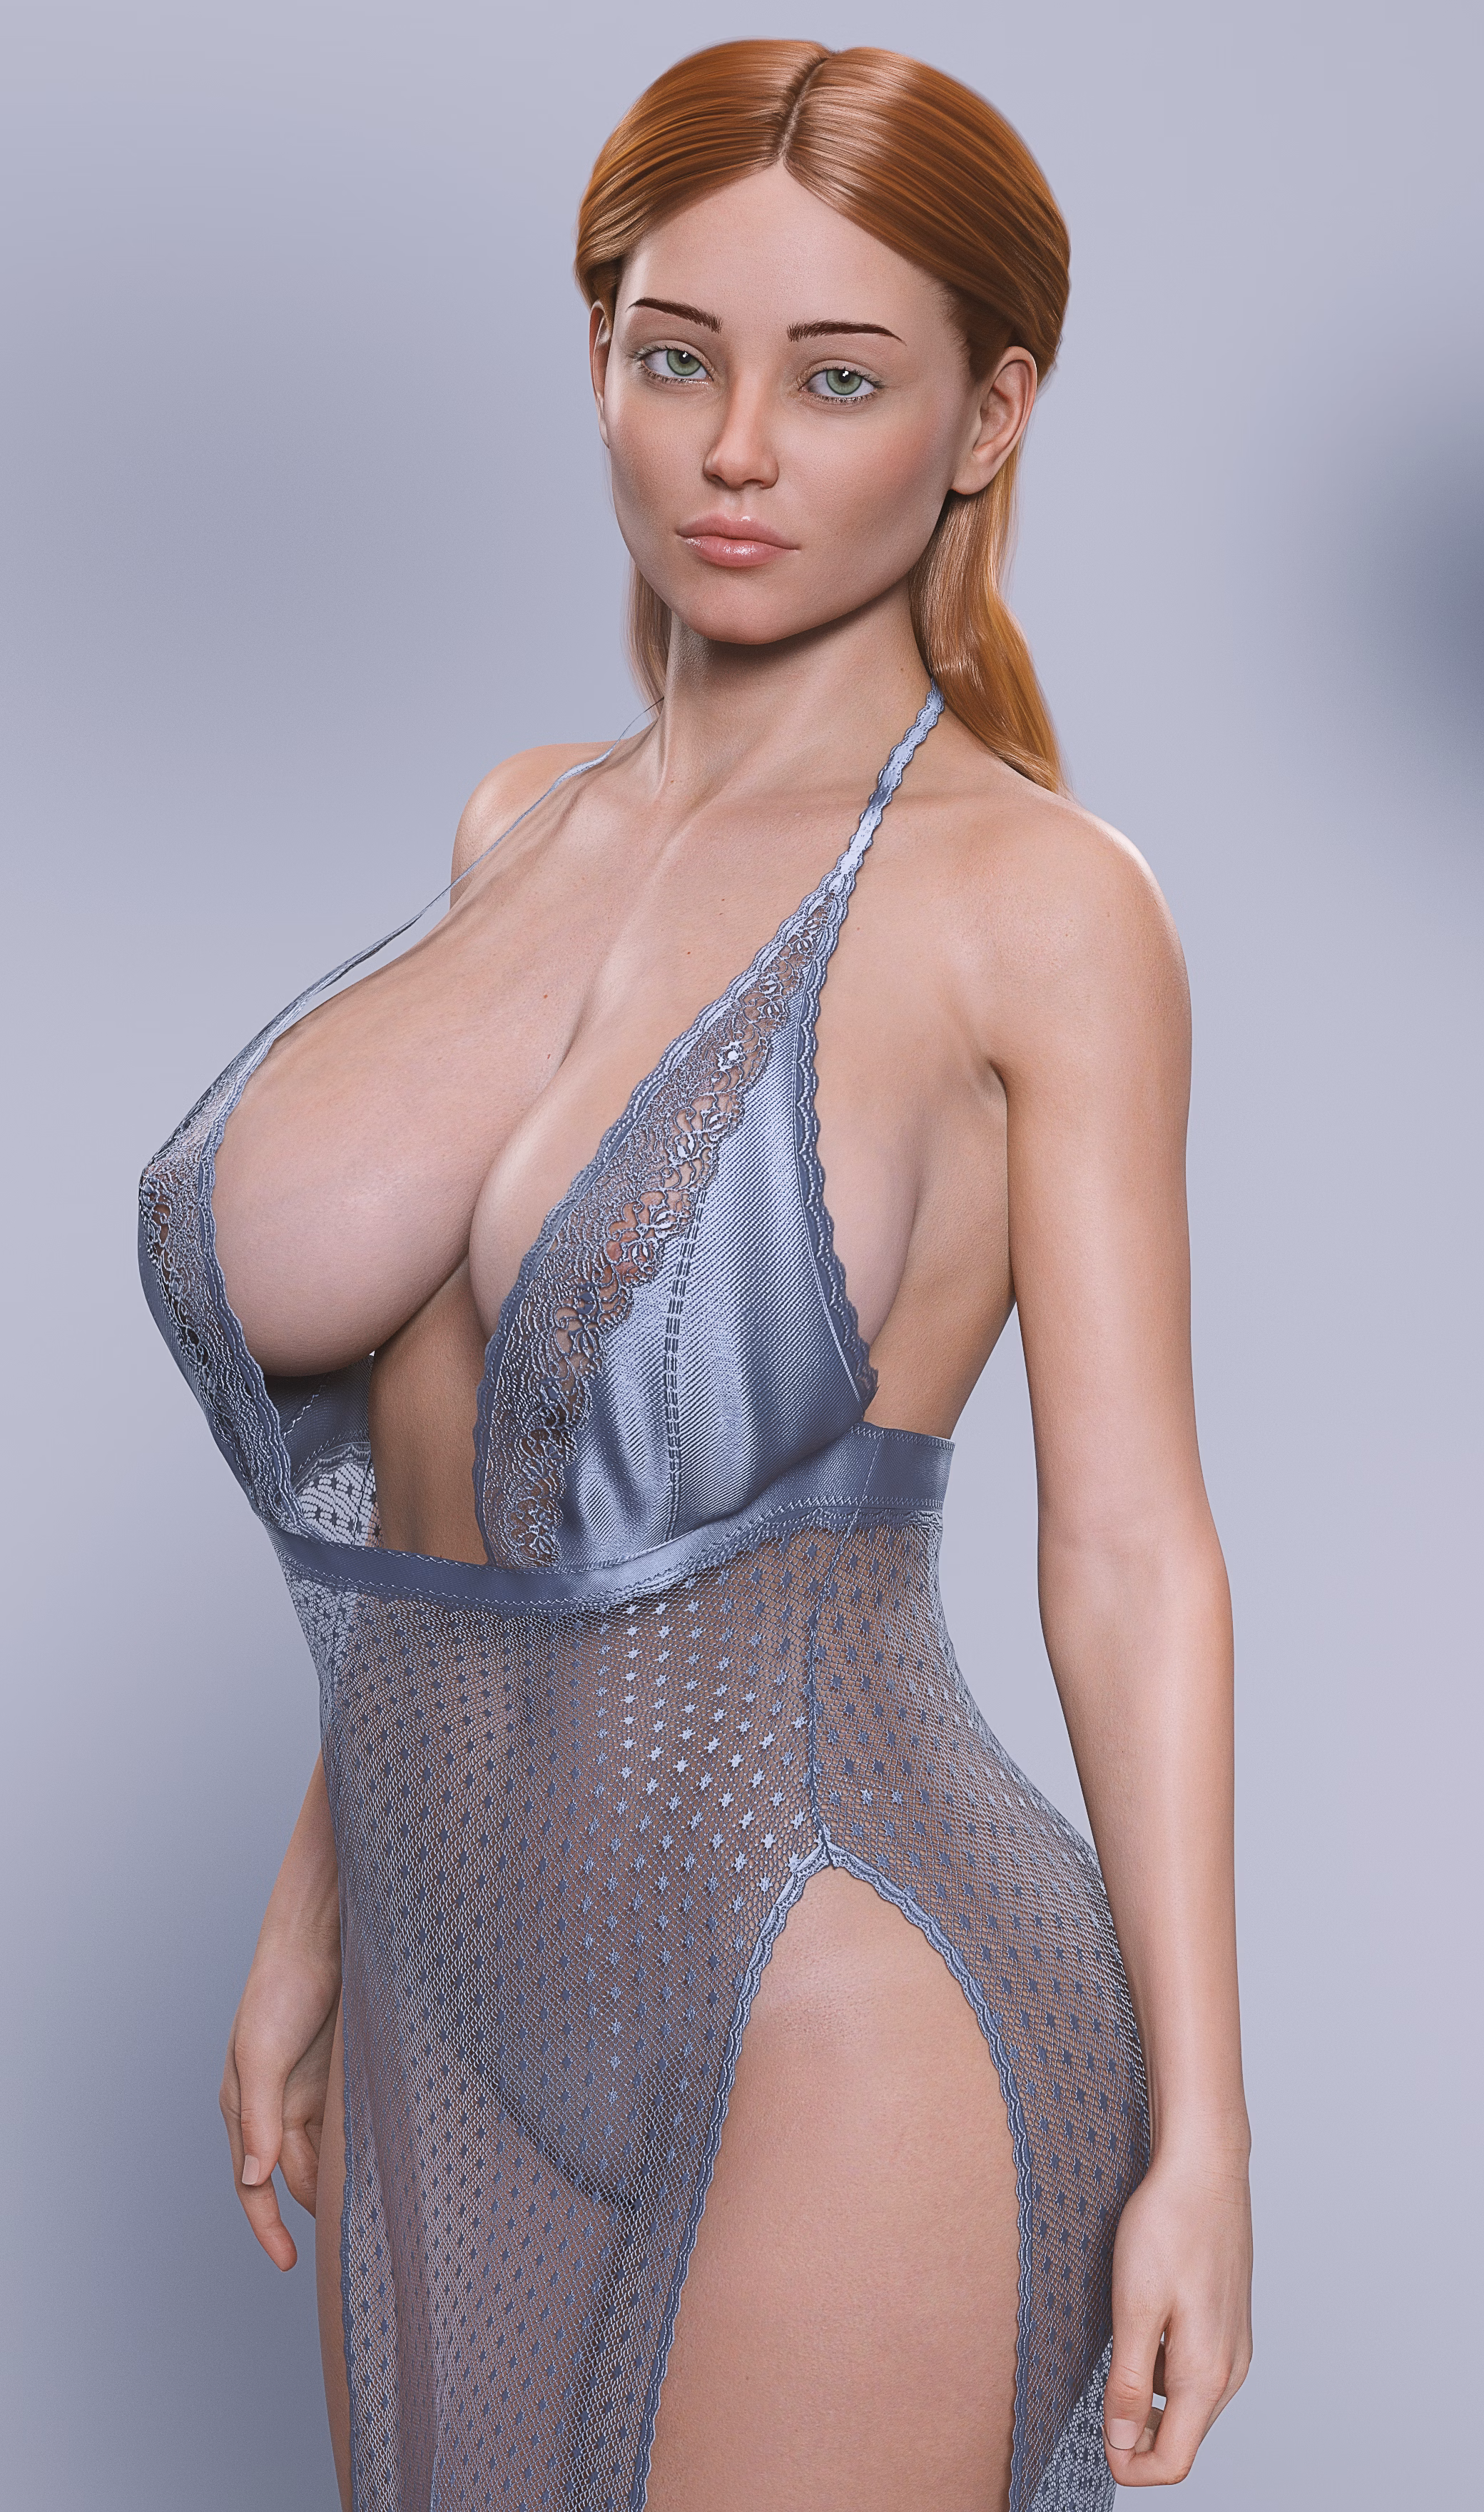
Should give you results like these:

Disclaimer: I suck balls at sculpting, if you can do it better, feel free to redo the sculpting part of the guide and share it.
Update:
First in the Edit Mode next to it where you have view, select, etc. you can just select - selcet all instead of obnoxiously selecting the vertices you want and then clear sharp and edge - clear sharp.
Second when loading it into daz I now:
1) load the morph onto base figure and dial it to 100%
2) Dial the original morph of the figure I did the morph for to -100% (might have to unlock limits in preferences of the said morph) This will be absolute abomination of a base genesis figure, but it's just so I don't have to dial the original body morph to appropriate value when using the morph.
3) export this again (base mesh resolution, deleted eyelashes and the tear with 8.1 figures of course, also with g8.1 the realistic mouth or what it's called has to be dialed to 0 when exporting)
4) load the new adjusted morph on the clean genesis 8 figure, I don't know if the riggin to shape is necessary here but I do it cause I'm just used to it and then I set the limit of this morph in preferences to 0.001, move it where I want it and save this morph.
Now I have them like this:

and in the clothing I just select the folder I have them saved under and only dial that morph up to the value necessary without needing to adjust the original morph


Here is video where I move the geometry out a bit and smooth it out:
Save the blender file after you cleared the edges and masked the geometry, before you start working on it.
Key points I move the middle of the breasts (sternum) a little down to align with the underboob, because how the clothes in daz work.
- I do often smooth the geometry out from inside the body, you can just zoom the camera through the geometry.
- I start with higher strength and radius and work myself down to more precise adjustments.
- I import the body morph I want to work on twice, one I make invisible and I don't make changes to it. When I start getting close to the desired shape on the one I'm working on, I make the reference body visible to check and try to align the geometries, so there are no poke throughs. You can hide it again or leave visible, as long as you have the one you want to work on selected, you'll only make changes to that one. Dont't forget to delete that one when exporting the morph!
Here's a link:
You must be registered to see the links
Should give you results like these:

Disclaimer: I suck balls at sculpting, if you can do it better, feel free to redo the sculpting part of the guide and share it.
Update:
First in the Edit Mode next to it where you have view, select, etc. you can just select - selcet all instead of obnoxiously selecting the vertices you want and then clear sharp and edge - clear sharp.
Second when loading it into daz I now:
1) load the morph onto base figure and dial it to 100%
2) Dial the original morph of the figure I did the morph for to -100% (might have to unlock limits in preferences of the said morph) This will be absolute abomination of a base genesis figure, but it's just so I don't have to dial the original body morph to appropriate value when using the morph.
3) export this again (base mesh resolution, deleted eyelashes and the tear with 8.1 figures of course, also with g8.1 the realistic mouth or what it's called has to be dialed to 0 when exporting)
4) load the new adjusted morph on the clean genesis 8 figure, I don't know if the riggin to shape is necessary here but I do it cause I'm just used to it and then I set the limit of this morph in preferences to 0.001, move it where I want it and save this morph.
Now I have them like this:

and in the clothing I just select the folder I have them saved under and only dial that morph up to the value necessary without needing to adjust the original morph


Here is video where I move the geometry out a bit and smooth it out:
You must be registered to see the links
Save the blender file after you cleared the edges and masked the geometry, before you start working on it.
Key points I move the middle of the breasts (sternum) a little down to align with the underboob, because how the clothes in daz work.

- I do often smooth the geometry out from inside the body, you can just zoom the camera through the geometry.
- I start with higher strength and radius and work myself down to more precise adjustments.
- I import the body morph I want to work on twice, one I make invisible and I don't make changes to it. When I start getting close to the desired shape on the one I'm working on, I make the reference body visible to check and try to align the geometries, so there are no poke throughs. You can hide it again or leave visible, as long as you have the one you want to work on selected, you'll only make changes to that one. Dont't forget to delete that one when exporting the morph!
Last edited:


