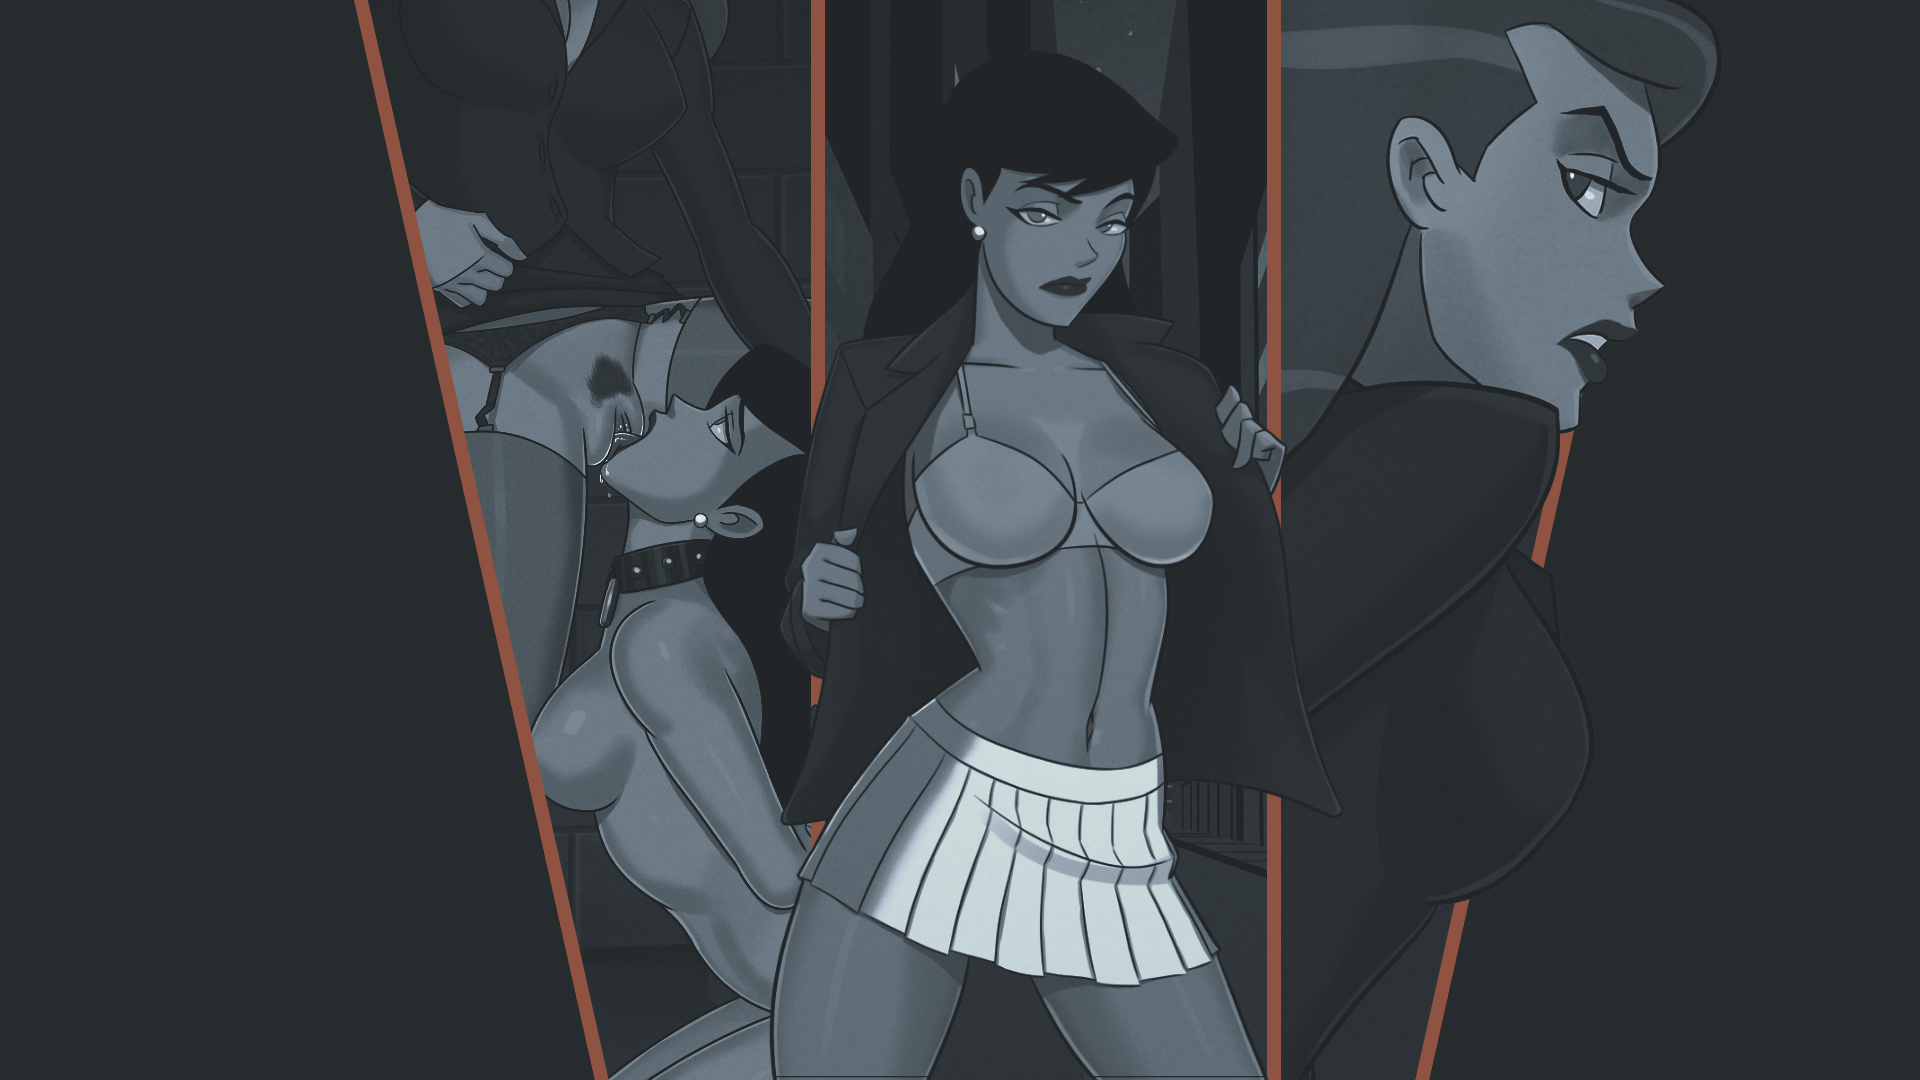
Wallpaper + a quick tutorial on color mapping
View attachment 2288705
(no time to make a info card so it's all compact, so i'll just do text below)
Step 1. - make a selection of the element you wish to change color
Step 2 - with said selection active add a
gradient map
-
Preset: select
Basic Folder (
black to white)
-
Method: set to
Classic (if newer ps version)
-
Dither: leave uncheck or checked , compare results yourself
After, double click the gradient map and between the black and white pointers click to add the color you wish and push it more to white or black points, until you get the shade you wish, keep in mind that color point you add has is own little points to it's right and left for a more in depth tweak if needed.
-Additionally(optional): you can
add a levels,hue and saturation, vibrance... adjustment layers to tweak even more
and
clip them to the gradient map by either (
while selected)
click the square with an arrow down or
holding ALT and click above the gradient map when an arrow pointing down appears.
Why a black and white gradient map,
the gradient map is a color map, all colors have different shades on a black to white spectrum like how in painting you have to mix a a bit of pure white or black color to get a lighten or darker shade of a specific pure color, in digital they are already mapped you just need to add or subtract.
In short you take out the original color keeping just the shades spectrum and add the color you want.
Now this might not work exactly the same on all programs some might have different algorithms but the base idea is same, so if it has a gradient map or any other adjustment layer that targets color mapping should work.